Are you new to embroidery, but don’t know how to get started? Starting embroidery can be intimidating, but it’ll be worth the time and investment to learn. There are many
benefits to embroidery like personalizing gifts, decorating just about any fabric you want, embellishing, and adding designs to your jackets and quilts.
The possibilities are endless! Below I have gathered some tips on the easy way to get started with embroidery. Included in this summary is information on what the best embroidery machines are, how to select the correct materials and tools, and some tricks on beginning techniques for high-quality projects.
Table of Contents
What is Embroidery?
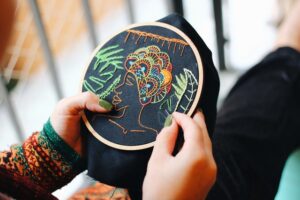
Embroidery is the art of adding decorative designs both by hand and using a machine to a project. An embroidery machine adds beauty to your designs and precise detail to everything you sew.
Embroidery raises the thread of your design to make it pop out. You can embroider many materials such as cotton, silk, and any woven fabric. You can find an embroidery machine anywhere from 300-8,000 dollars depending on the software and size of the machine you want.
Things You Need to Get Started Fabri When starting on your first project, you will want to start on a lighter fabric, such as linen. These fabrics have a looser weave, making embroidery easier for beginners When buying fabric, a ¼ yard should be plenty of material to tackle several projects.
Floss
Embroidery thread is known as floss and there are a wide variety of beautiful colors to
choose from. DMC is the most popular floss among most embroiders. It is easy to find,
inexpensive, and high quality.
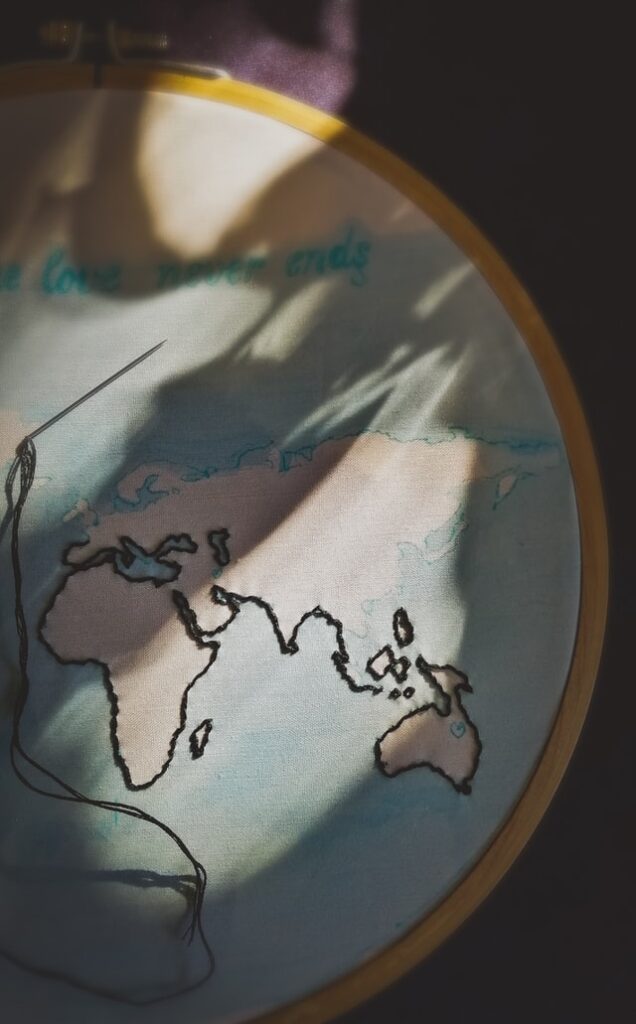
Hoop
Hoops are used to holding the fabric in place during embroidery. Depending on the project, you will need to pick the right hoop to suit it. Hoops come in a variety of sizes and are generally inexpensive. The hoops will come with 2 rings to hold your fabric in place.
These hoops can either be plastic or wooden, which are both popular choices for embroidery.
Needles
There are many needle options to choose from. Needles with a bigger eye will work with
most embroidery projects. This is because the eye needs to be bigger to fit the thicker
embroidery floss.
Water-Soluble Pen
Regular pencils can work to transfer a pattern to your project, but to ensure there will be
no marks left behind, a water-soluble pen is the best way to go. This will preserve the
quality of your project by making sure the pattern is the only thing transferred on. A
water-soluble pen will clean up more nicely during the finishing operations of
embroidery.
Scissors
There are multiple types of scissors, each made for different tasks for your embroidery
project. If you’re first starting, normal scissors will be just fine for a broad range of early
projects. You will want to make sure the cuts are smooth through the floss for higher
quality products.
A pair of small scissors will be the best choice to cleanly cut the floss. Eventually treating yourself to a nice pair of embroidery scissors will be a beneficial investment for your projects in the long run, but normal scissors will do the trick for beginners.
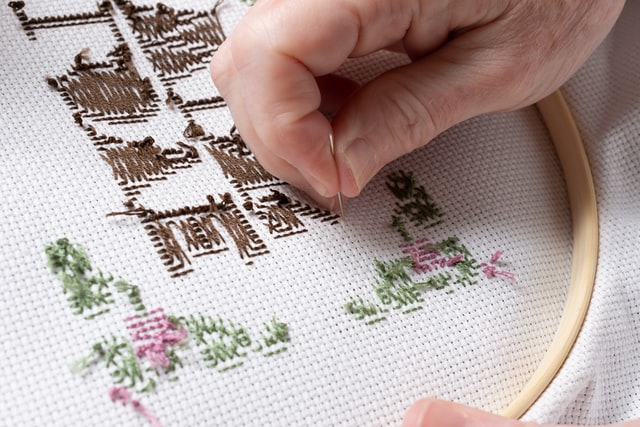
Stitch Type
There are several different types of stitches for embroidery projects. Some of the most
common ones are listed below.
● Straight stitch: The simple straight stitch is used by creating short, straight lines
and is one of the most commonly used stitches during embroidery.
● Backstitch: The backstitch is used when doing outlining work and is easy to do. It
will also create a beautiful look for your project.

● Starting/stopping: When starting or stopping a stitch, it is okay to use a knot at
the end of each stitch to finish it.
Finishing Tips
When you finish up your project, you may need to rinse your project off to get rid of any
marks that may have been produced during the embroidery process. Rinsing your
project will also help get wrinkles out for a beautiful finish.
Once you take it out of the water, you will want to gently press out the extra water with another towel and place it in a newly folded towel. To finish this process, press gently on the towel with iron to fully dry it out.
Conclusion
Now you’re ready to start stitching! I hope this guide helped you learn the easy way to
get started with embroidery. I know learning a new hobby like embroidery can be
intimidating, but with all of the tools and a couple of instructional videos you’ll be
creating beautiful embroidery projects in no time.
Frequently refer back to this guide during your early projects to remember all of the important factors that can make or break your project: purchasing the right materials, selecting the correct tools, and using good techniques to ensure high-quality embroidery.
[convertkit form=1523452]